Gardening for Pollinators
Creating a garden with native plants
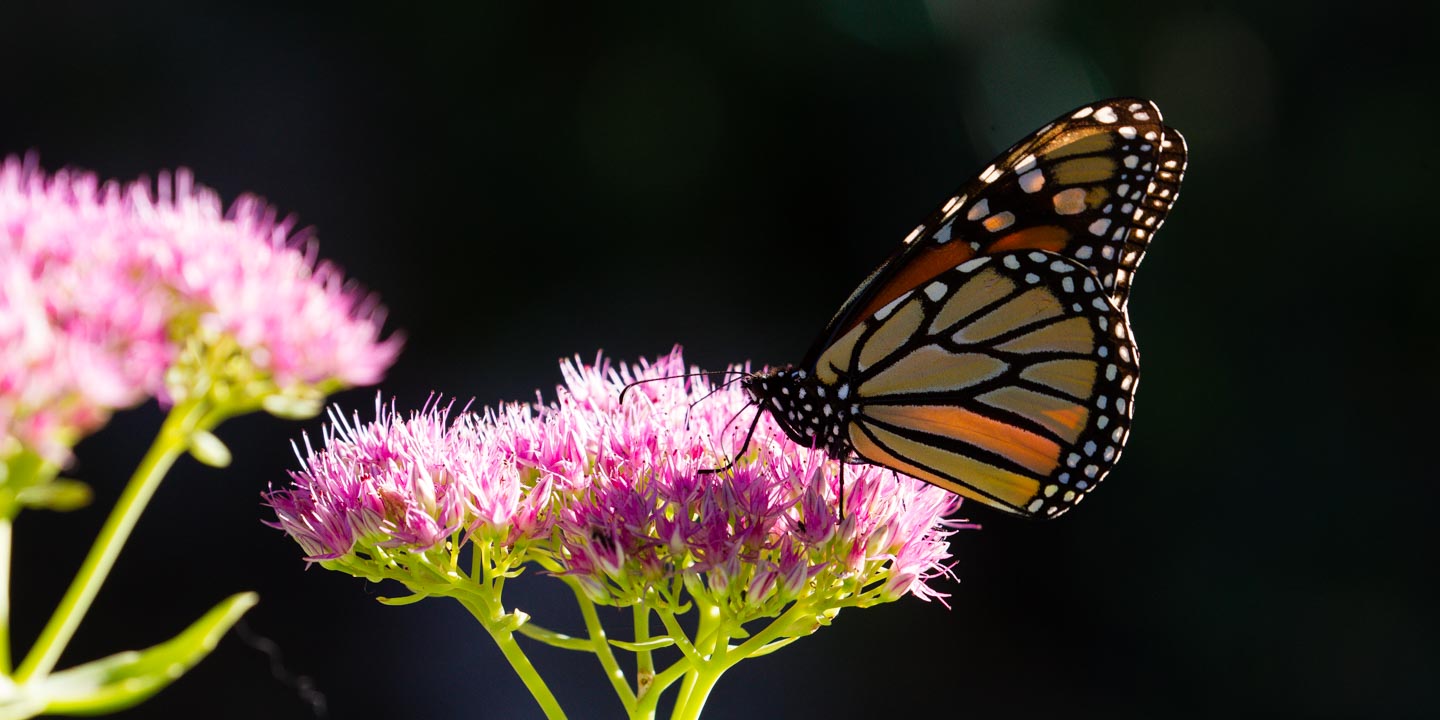
Creating a pollinator garden with native plants is a great hobby for everyone. Not only can you enjoy beautiful blooms spring through fall, but also over time, it’s less work and less expensive than gardening with non-native annuals. Most importantly, gardening with native plants provides immense benefit to native wildlife and supports healthy Nebraska ecosystems.
Tips for creating your pollinator garden
Plan before you start
Where should you plant a pollinator garden? While some native pollinator plants do well in the shade, the vast majority of our Nebraska pollinator plants evolved for a life of full sun on the prairie. If you have a very shady yard, research native shade-adapted plants for your area.
How big of an area should you plant? During the first growing season, you will need to haul water to this garden bed weekly to help your native plants get started. Consider how far the area is from a water source. A watering wagon can help you haul in large volumes of water.
Should you start plants from seed or buy young plants? It’s recommended that new gardeners start with plants. Seeds of native plants can be tricky to get started.
Ask around for plants. Friends who garden may be splitting their plants. There also may be a local Facebook gardening group or people in your circle who can give recommendations of where to buy plants. Or attend local plant sales in the spring or fall — search your city name and “native plants” on the internet to find local nurseries or organizations that sell plants native to the Great Plains.
Think about what you have capacity to maintain and start small. You can always enlarge the bed later. I try to add three to five new pollinator plants every spring and fall.
Tools to consider
Use garden gloves to protect your hands. A small hand shovel, drain spade, trowel, clippers, watering can, wheelbarrow and tarp are also recommended.
When and where to plant
The best time to plant is in the spring or fall. It’s less stressful for plants to establish roots during this time and helps them get adjusted before the heat of summer. If you’re planting in the spring, plant close to or just after the projected last frost date for your area.
If you’re wanting to install a pollinator garden in an area where there’s existing lawn, step one is to get the grass out. You can do this by mowing the grass as low as your mower can go and then covering the area with a tarp or cardboard over the course of a season to kill the existing vegetation.
However, if want to plant immediately in early spring, you can mark the boundaries of your garden with string, grab a garden spade, and take shallow stabs at a 45-degree angle to manually dig out the top layer of grass. Then put on your garden gloves and pile your grass clods in a wheelbarrow or on a tarp that you can drag, and dump where you have designated as a discard/compost area in your yard. Note that this activity is strenuous, so it’s best done first thing in the morning or at the end of the day — not during the full heat of mid-day.
If you are planting in an existing garden bed, little preparation is required if you go this route.
Pick your plants
When choosing what to plant in a native pollinator garden, take a trip to a local public garden or arboretum. PlantNebraska — formerly the Nebraska Statewide Arboretum — maintains a list of public gardens that demonstrate regional native plants across Nebraska. Visiting an existing pollinator garden will give you ideas on what you like and what might work in your space. In addition, Nebraska Extension has a Pollinator Habitat Certification program with a website that offers excellent resources. Many state parks have pollinator gardens or have restored pollinator habitats that can provide inspiration.
Height – Some native plants can grow up to 6 feet tall. Pay attention to plant tags when you’re picking out plants to make sure you choose a plant that will be suitable in your space. Be mindful that many native plants look tall and elegant in June but by August are drooping over. This is OK and normal, but you should plan for droopy plants late in the growing season.
Spread – Native plants like to move around. You may plant one black-eyed Susan plant and find that by the next season, you have three. This is a wonderful trait, because free plants are a good thing and you can dig them up and move them or trade them with friends, but be aware that native plants will expand and spread over time. Give your plants space and don’t plant them too close together.
Soil and Water Needs – Like people, plants have preferences, too. There are native plants that thrive in wetland environments and others that are more tolerant of dry soil. Ensure your plants match your planting environment.
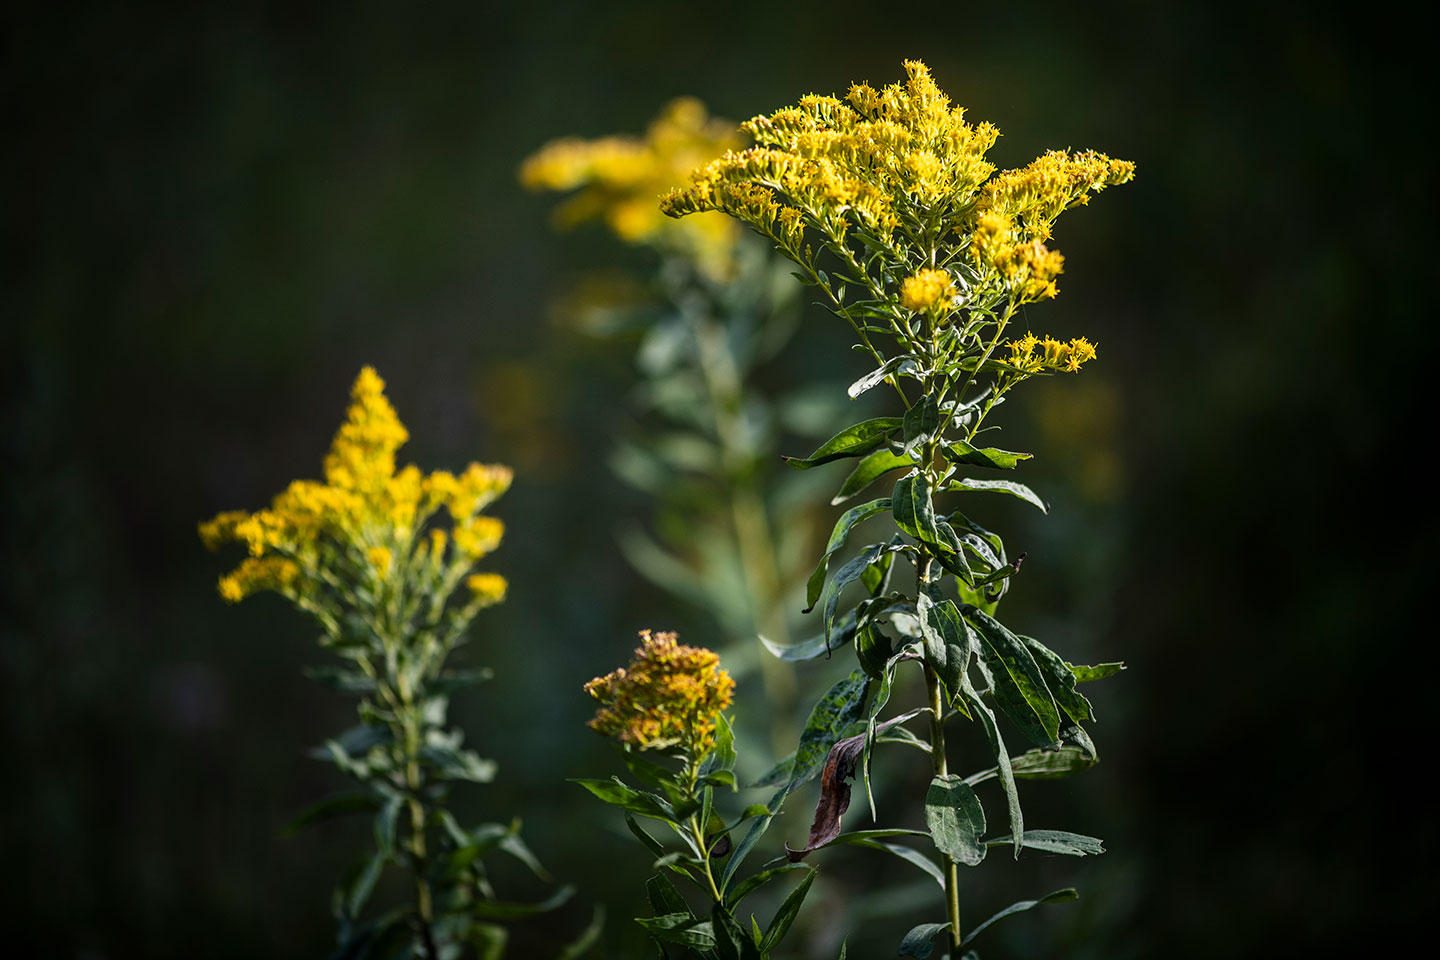
Bloom Time – Choose plants that bloom spring through fall. Pollinators need food from when they first emerge from hibernation and through the fall when they are bulking up to prepare for overwintering or migration. This will also benefit you, as you will get to enjoy flowers in your garden year-round.
Planting tips
- Plant first thing in the morning or at the end of the day. This is far less stressful for the plant than during the hot, bright middle of the day.
- When you remove the plant from its pot, pull the roots down with your fingers. Native plants can thrive even during drought conditions because of their thick, long roots. But when they’ve been growing in a pot for a while, those long roots tend to wrap around the inside of the pot in a circle. Show the roots that it’s time to grow down and out. Don’t worry about being too rough — it’s better to break a few roots than to plop a root-bound plant straight into the ground.
- Once you’ve untangled the roots, plant the plant level with the ground, covering the roots with soil and giving your plant a deep watering. This will help it get established.
- Mulch looks nice and also locks in moisture. It’s a beneficial finishing touch. Try to find free local mulch that will decompose naturally over time.
- Some plants can be “dramatic” after you plant them. They may lay flat on the ground the next day — they’re not dead. Keep watering them and give them a week or so to perk up.
- For the first week after planting, water your plants every evening unless it rains or the soil is holding water and still wet from the day before. After that, during the first growing season, ensure the plants get at least an inch or so of water per week. The beauty of gardening with native plants is that in subsequent years, you won’t need to water them regularly. By then, they would have grown deep, thick root systems that can deal with the climate in your area with little human intervention. Most native plants will not need watering once established.
- As with any garden, you will need to keep an eye on weeds and add new mulch every spring. Over time, your garden will expand and support native wildlife along the way.